Cute!!
So lets get started.
Supplies:
1 rectangle piece of fabric (size depends on how big you want the bag)
Ribbon (I use 2 yards of ribbon, cut into 2 one yard pieces.)
thread, sewing machine, iron, scissors
Safety pin
lighter or fray stop

First before cutting any fabric I always wash/dry fabric, preshrink it.
Then iron it.
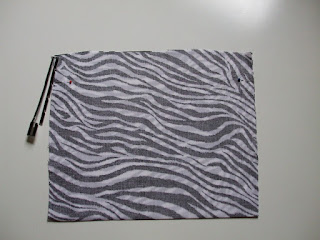
Okay for this bag I cut a rectangle the size of 14 1/2" w and 23"long.
Now fold it in half long ways....you should have a piece 14 1/2" w and 11 1/2" long now.
(You can do any size, smaller or larger!)
Iron again....

Now measure down on the open end about 2 inches and pin. Do both sides.


Now let's do some sewing. I start at the pin and sew all the way down to the folded end. Make sure you back stitch at the beginning and end.
Making sure to back stitch on this side too.

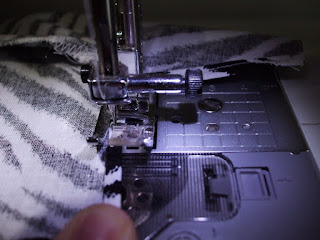
I normally use my serger to clean up the raw edges (if not doing a lining for the bag) but since some of you don't have a serger I decided to show that you can just do a zig zag stitch. This helps the fabric not to fray.

Remove pins. There should be a 2 inch slit on the sides. On the slits turn a little of the raw edge in and then turn in again. You can press with your finger or iron.

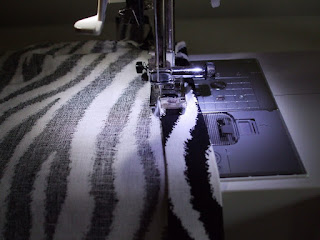
Stitch down to the part you just got done sewing on the sides. It will look like a V when done.

Back stitch.

Do the other side of the slit the same way.

Now start sewing that side from the bottom to the top. See...it looks like a V.

Now do the other side of the bag.
Once finished with sides, it's time to do the casing for the ribbon.

Take the open end and fold one side down about 1/4" inch and then fold down again about 1 inch.

Stitch across the bottom of the casing.

Then do the other side.
Here's the finished casing.

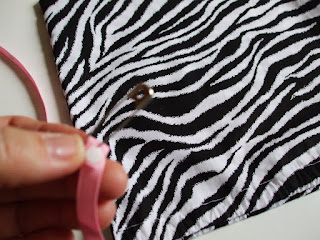
Take your safety pin and pin the ribbon on it.

This will help slide the ribbon through the casing.

Go all the way around the bag.

Ribbon will be out one end of bag.

Take you second piece of ribbon and do the same thing, but this time start at the oppisite side of the bag.

The bag should look like this now. (The ribbon will probably look long, but we will the cutting it shorter.)
I like to open the bag all the way....and take the ribbon and tie a not at each side against the bag.
See the not at the bag.
It helps so the ribbon can't be pulled out. Now I cut the ribbon off at the length I want. You can leave it long if you like it.

Here's what it should look like.

To finish it all you have to do now if heat seal the ends of the ribbon with a lighter, or use a stop fray product.
You are all done!!!

I hope you liked this little tutorial! If you create any bags, please share...I would love to see!! Please feel free to post this tutorial on your blog, the only thing I ask is that you back link it. Thanks!
(If you have any guestions just leave a comment or email me.


2 comments:
Were you a teacher at some point? Good post.
looks like a really nice machine.
Peace
This is perfect, I'm off to make a bag for a gift I'm making a friend... Thanks for sharing! Tracy
Post a Comment